Installing Office 365 Suite
As a student at Walsh College you have access to a large group of free software. One of these packages is the Microsoft Office suite. So long as you maintain your student status, you will have access to Office through your email. You may install this Office suite on as many as 5 computers (PC or MAC) at one time as well as having the option to open Office Online and access the suite from anywhere. To install the Office 365 suite, follow the directions below:
- To download this free software, start by logging into your portal account at https://my.walshcollege.edu/.
- Once you have logged into the portal, navigate to the student portal if you aren’t directed there automatically. You can verify that you are on the Student Home by looking just under the Menu at the top left. You should see it say “Walsh College Portal -> Student Home”.
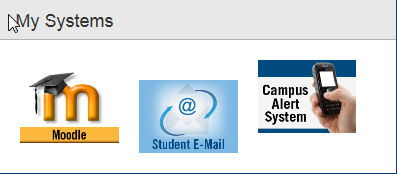
- Click on the Student E-Mail link in the center of the page.
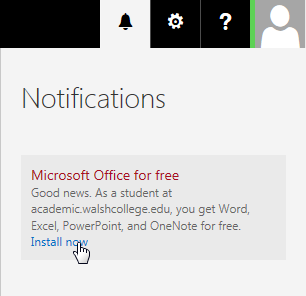
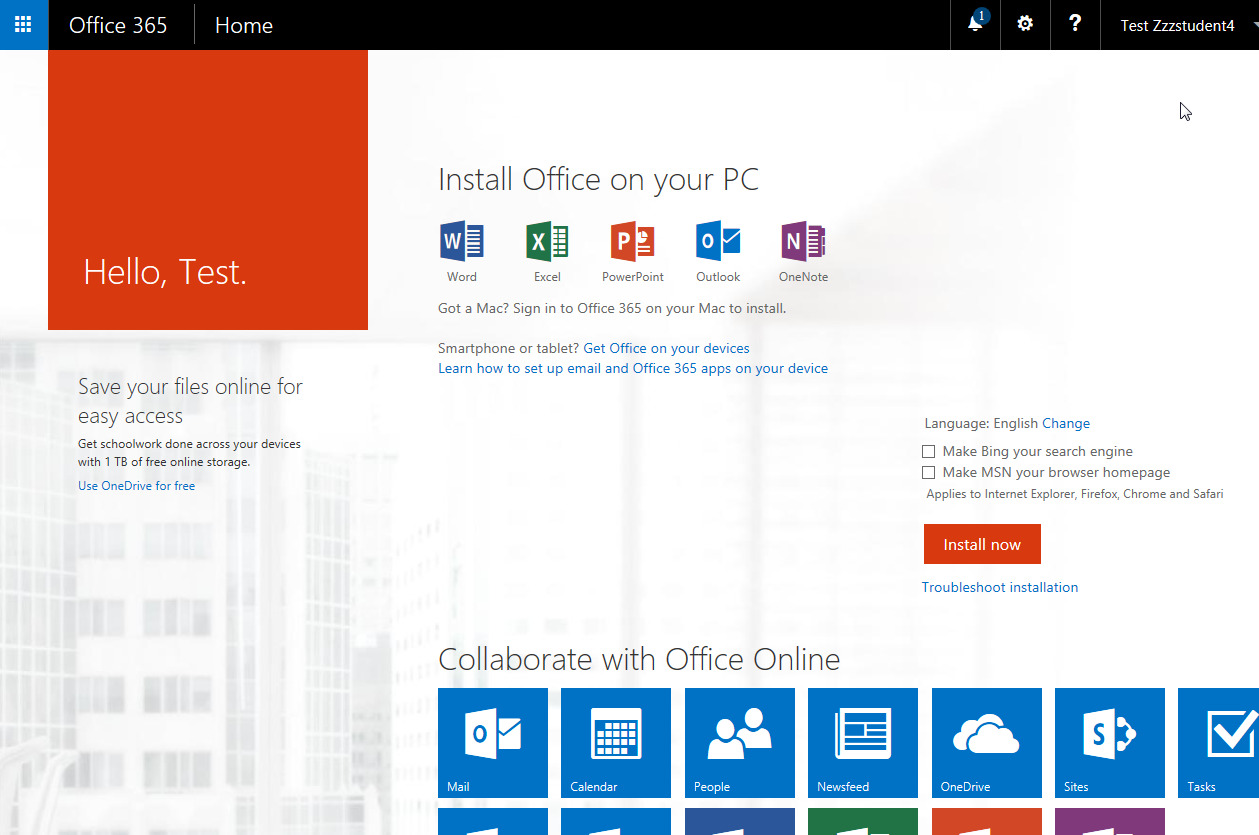
- Once your email has loaded you should see a few different panels at the top right. One of these will be your notifications. Your notifications should list 1 new update. Click on the notifications icon to show the message.

- Your notification should look like below. Click on Install Now to begin the process to install Office.
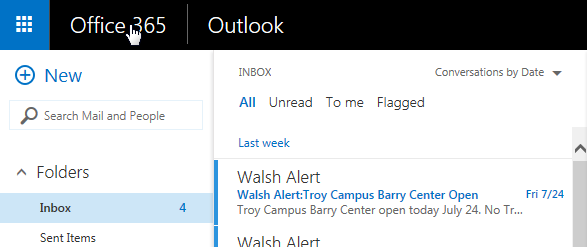
- If you do not receive the notification for receiving Office for free, you are not out of luck. You can still get to the Office 365 portal by clicking on “Office 365” at the top left of the screen or by navigating to https://portal.office.com/Home.
- You will be redirected to a short page that gives you the terms and conditions and privacy policy. When you are ready to begin, click on the Start button.

- From the Office 365 installation page you will be able to access information related to Office 365. When you are ready to install your software, click on Install now on the right side of the page. You may choose to not accept the free offers such as “Make Bing your search engine” and “Make MSN your browser home page”.
- After clicking on Install Now you will be prompted to either Run or Save the installation file. Please click Run to begin the installation process.

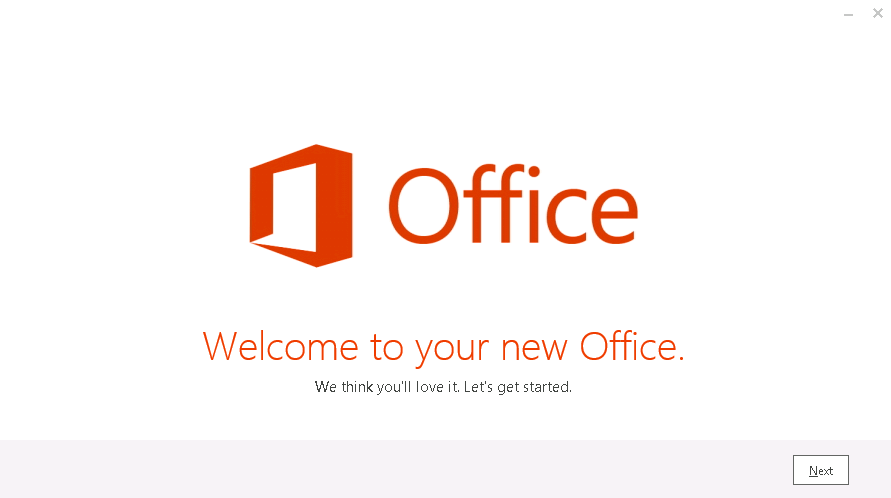
- Once the installation has started you will see a window welcoming you to the new Office. Press Next to start the installation.
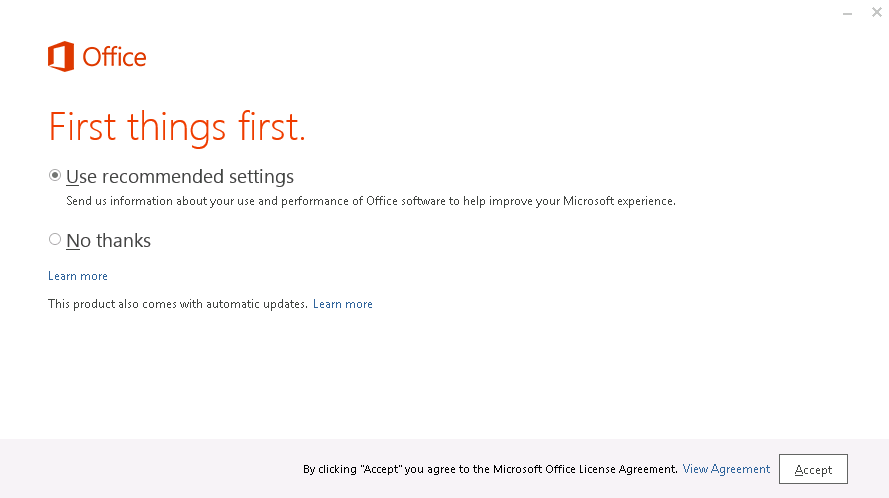
- After pressing next you will be prompted for the settings that you would like inside of Office. We recommend that you choose “Use recommended settings” so that the program will automatically update with Windows. Once you have made your selection, press Accept to continue.
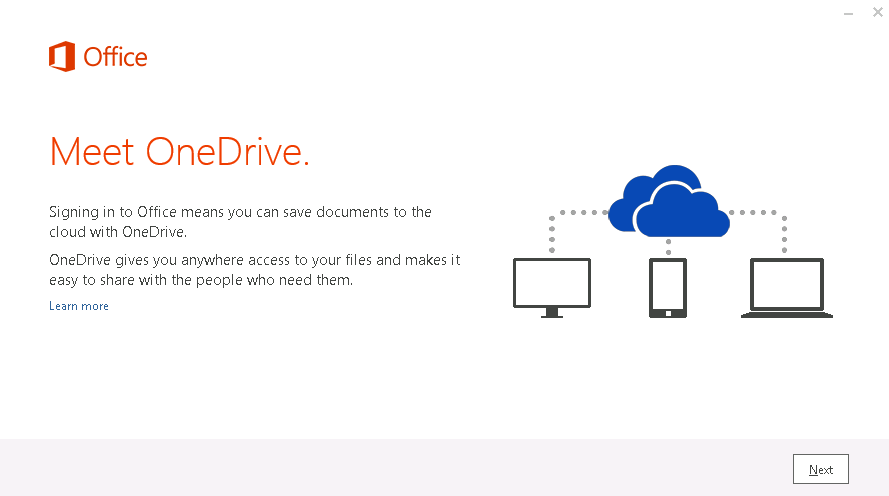
- The next screen will tell you more information about the Microsoft OneDrive that you are also registering for during the installation. More information is available through the link. Press Next to continue.
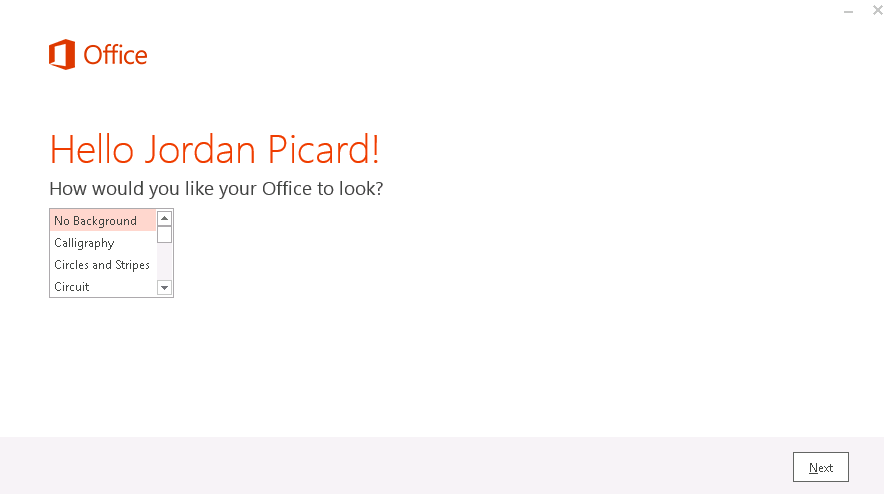
- This is the last screen you will see before the installation will pass through the final steps and finish. This last screen is asking if you would like a different design as a background on your office applications. These options are only aesthetic and do not affect your documents. Press Next to continue.
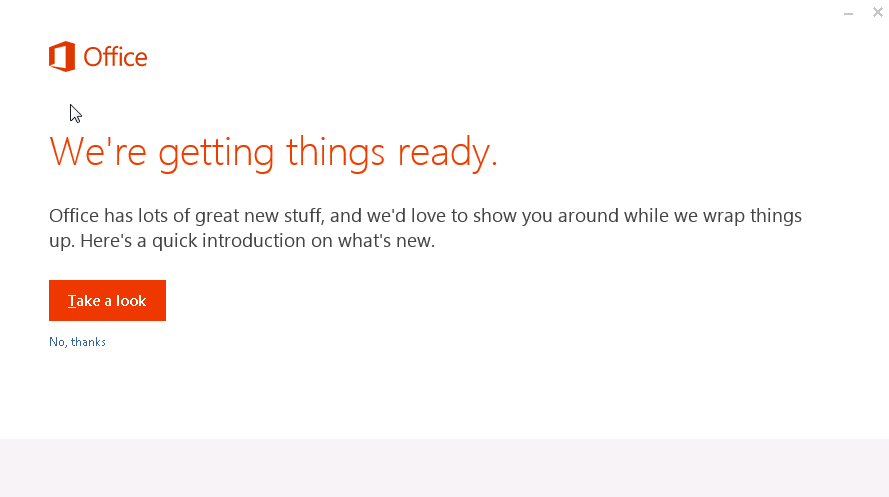
- At this point you will get a prompt asking if you would like to see the new features available in Office 365. You can either “Take a look” or choose “No, thanks”. Both options will progress you one more step towards completing the installation.
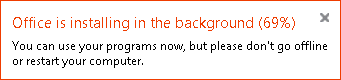
You may also receive a popup at the lower right corner of your screen letting you know the installation progress. This message will disappear after the installation has completed.
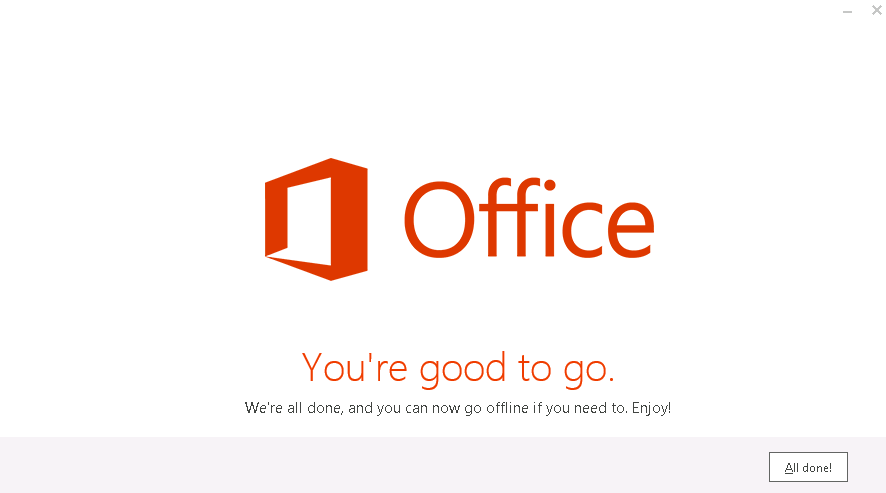
- After Office has finished installing, you will be left with the final window being displayed. Press “All Done!” to close the window and complete the installation. You should now be able to access all of your office programs through your start menu or the desktop shortcuts.