Scheduling a recurring meeting
- Sign in to the Zoom web portal.
- In the navigation menu, click “Meetings“.
- Click “Schedule a Meeting“.
- Below the Time Zone option, make sure the Recurring meeting option is checked.
- Edit the recurrence. This includes the number of times the meeting occurs and how often it occurs.
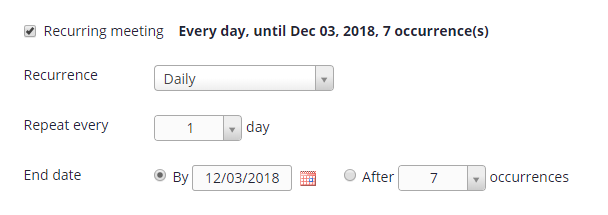
Note: Recurring meetings can have a maximum of 50 occurrences. If you need more than 50 occurrences, you can use the No Fixed Time option.
- If registration is required and the meeting is recurring, specify one of the following options:
- Attendees register once and can attend any of the occurrences: Registrants can attend all of the occurrences. All dates and times of the meeting will be listed and the registrant will be registered for all occurrences.
- Attendees need to register for each occurrence to attend: Registrants need to register separately for each occurrence to attend. They can only choose one date and time on the registrant page.
- Attendees register once and can choose one or more occurrences to attend: Registrants register once and can choose one or more occurrences to attend. They will need to select which dates and times they would like to attend and they will only be registered for those occurrences. They can choose multiple options.
- Click “Save“.
- Finish selecting the meeting options and click “Schedule“.
Adding and editing occurrences
Follow these steps to add or edit single occurrences part of your recurring meeting.
- Sign in to the Zoom web portal.
- In the navigation menu, click “Meetings“.
- Click the topic of your recurring meeting.
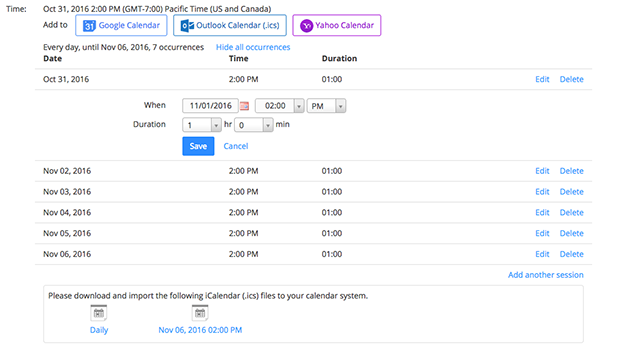
- Click “Show all occurrences” next to the meeting’s time.

A list of all the meeting times will appear. You can delete or edit each meeting. You can also add another session in this section. Meeting invitations can be exported to a variety of calendars.
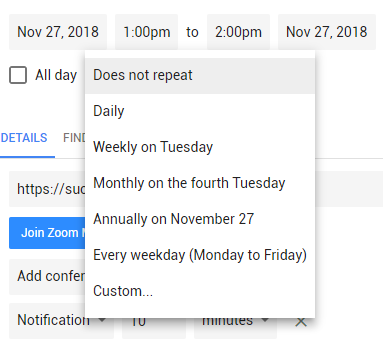
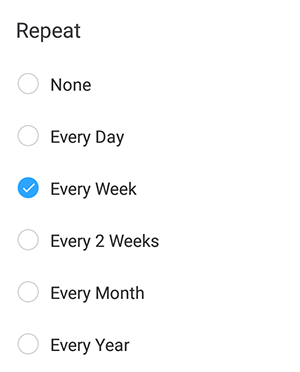
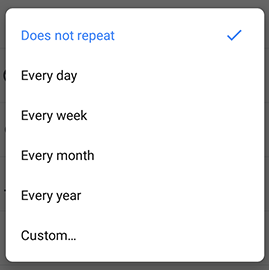
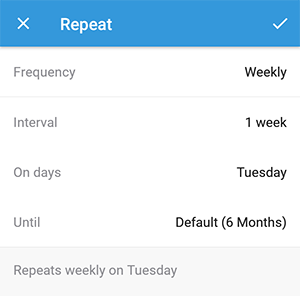
Note: If you previously added the meeting to your calendar service, such as Google Calendar or Outlook, you still need to edit the recurrence of the meeting through your calendar service.
Editing all occurrences
- Sign in to the Zoom web portal.
- In the navigation menu, click “Meetings“.
- Click the topic of your recurring meeting.
- Click “Edit” this meeting. When asked if you want to edit all recurring meetings, click “All“.
- Edit the recurrence.
Note: If you previously added the meeting to your calendar service, such as Google Calendar or Outlook, you still need to edit the recurrence of the meeting through your calendar service.
- Click “Save“.
 Printable version