Overview
Local recording allows users to record meeting video and audio locally to a computer. The recorded files can be uploaded to a file storage service like Dropbox, Google Drive, or a streaming service like YouTube or Vimeo.
This document covers the following:
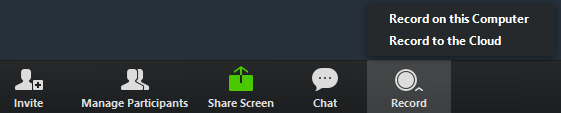
- Starting a Local Recording
- Stopping or Pausing a Local Recording
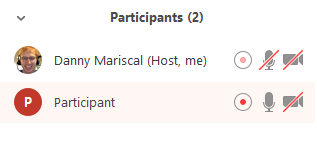
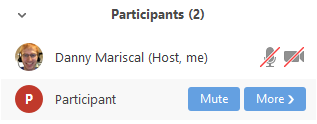
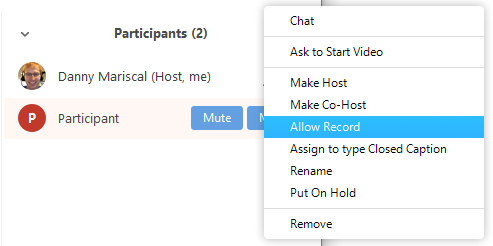
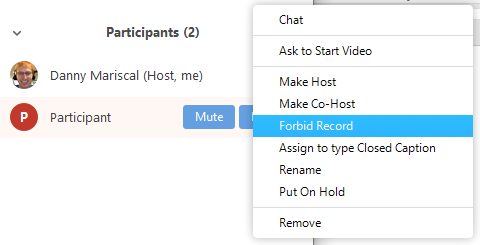
- Assigning Recording Privileges to a Participant
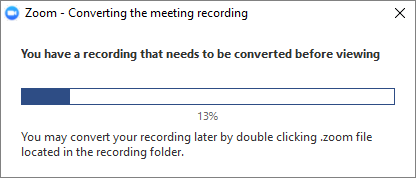
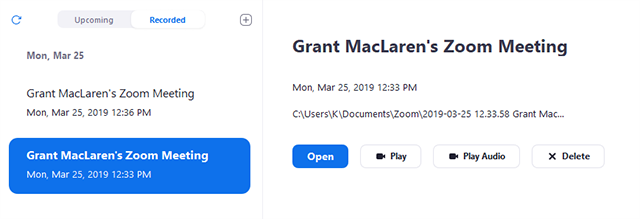
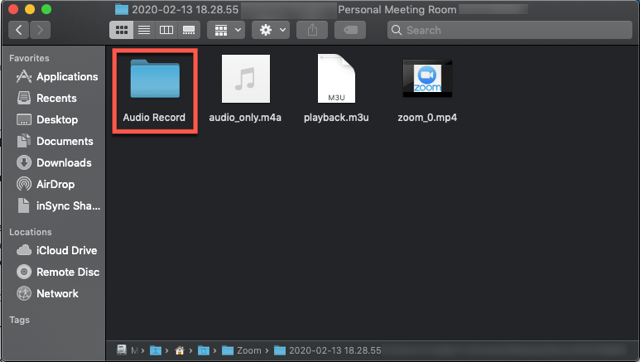
- Assessing Local Recording Files
- Recording File Formats
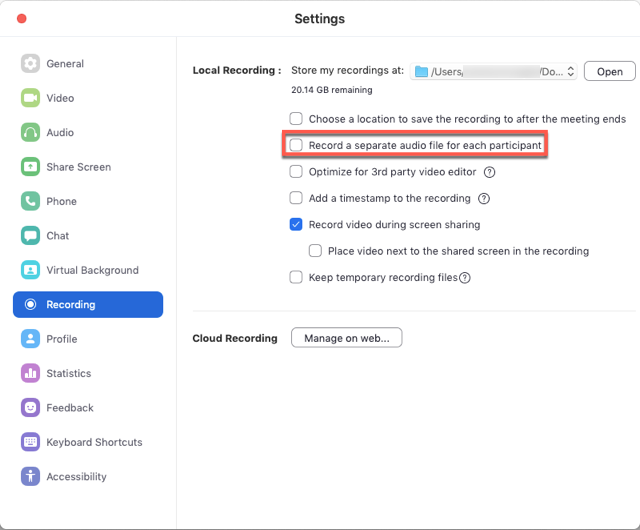
- Changing Local Recording Settings
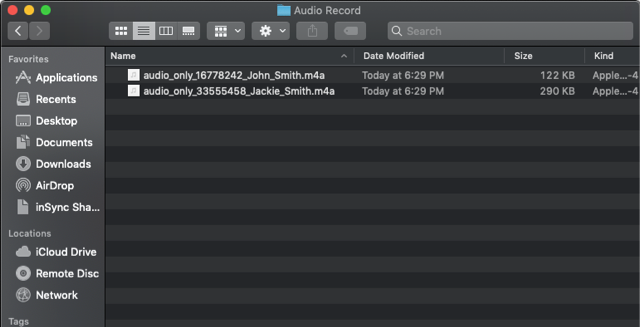
- Recording Multiple Audio Files