Creating Groups in Office 365
Office 365 groups are similar to distributions groups in the case that members receive email messages sent to the group. In addition, the Office 365 group provides a shared work space for email, conversations, files, and calendar events so it serves as a designated place to collaborate on projects. All conversations are stored in the group; a dedicated calendar is available to the group, and a dedicated OneDrive for Business storage is available for group documents.
Creating an Office 365 Group:
- Log into the Walsh College Portal at https://my.walshcollege.edu/.
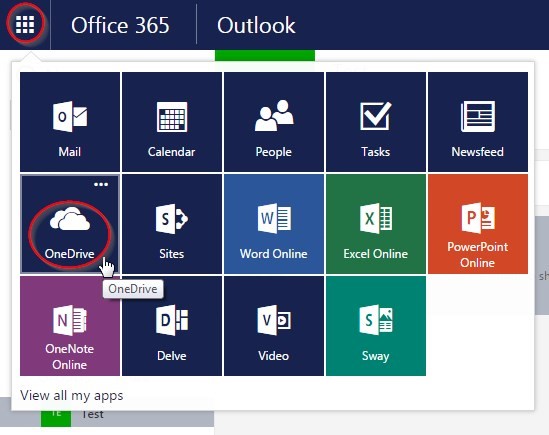
- Click the “Student E-Mail” icon under the “My Systems” heading.
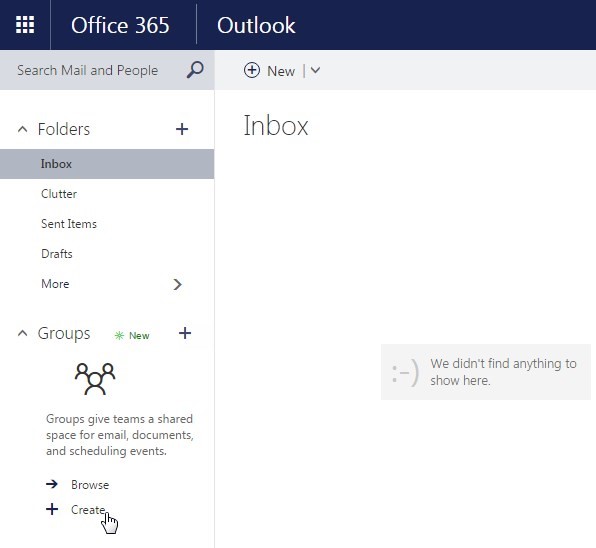
- Expand the “Groups” heading under the left navigation bar and click “Create”.
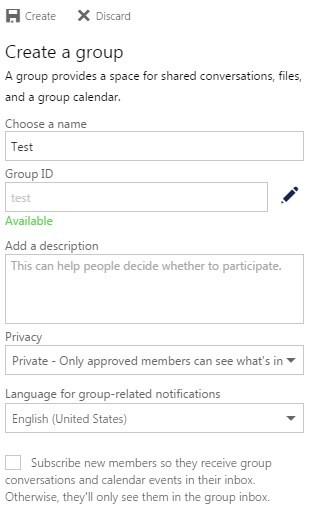
- Fill in the group details on the right hand side of the screen and click the create button. NOTE: If working on group project you may want to set the group to Private to restrict access to shared content.
- Add additional people to the group on the next screen. You can search by name or email address.
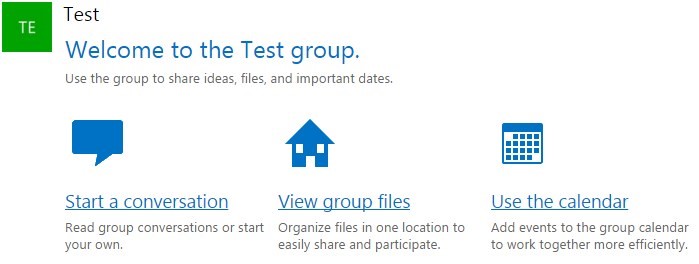
- You can now start a group conversation, share files or add to the calendar.